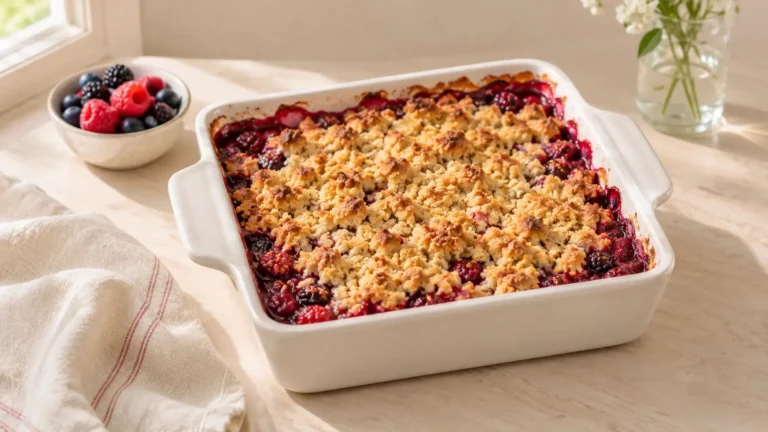
Hi, I’m Sophie Bennett. I’m happy you’re here to make easy peach cobbler with me. I love a dessert with a clear method and a little room for your own finishing touch. Today we’re aiming for juicy peaches beneath soft, golden biscuit-style cobbler topping, with each stage laid out so you can work at a comfortable pace.
This recipe makes 8 servings. Read through the directions first, set out the 9-inch square baking dish, and plan for the resting time before you begin. That small bit of preparation makes it easier to enjoy the process and serve the dessert at its best.
Why This Recipe Is Awesome
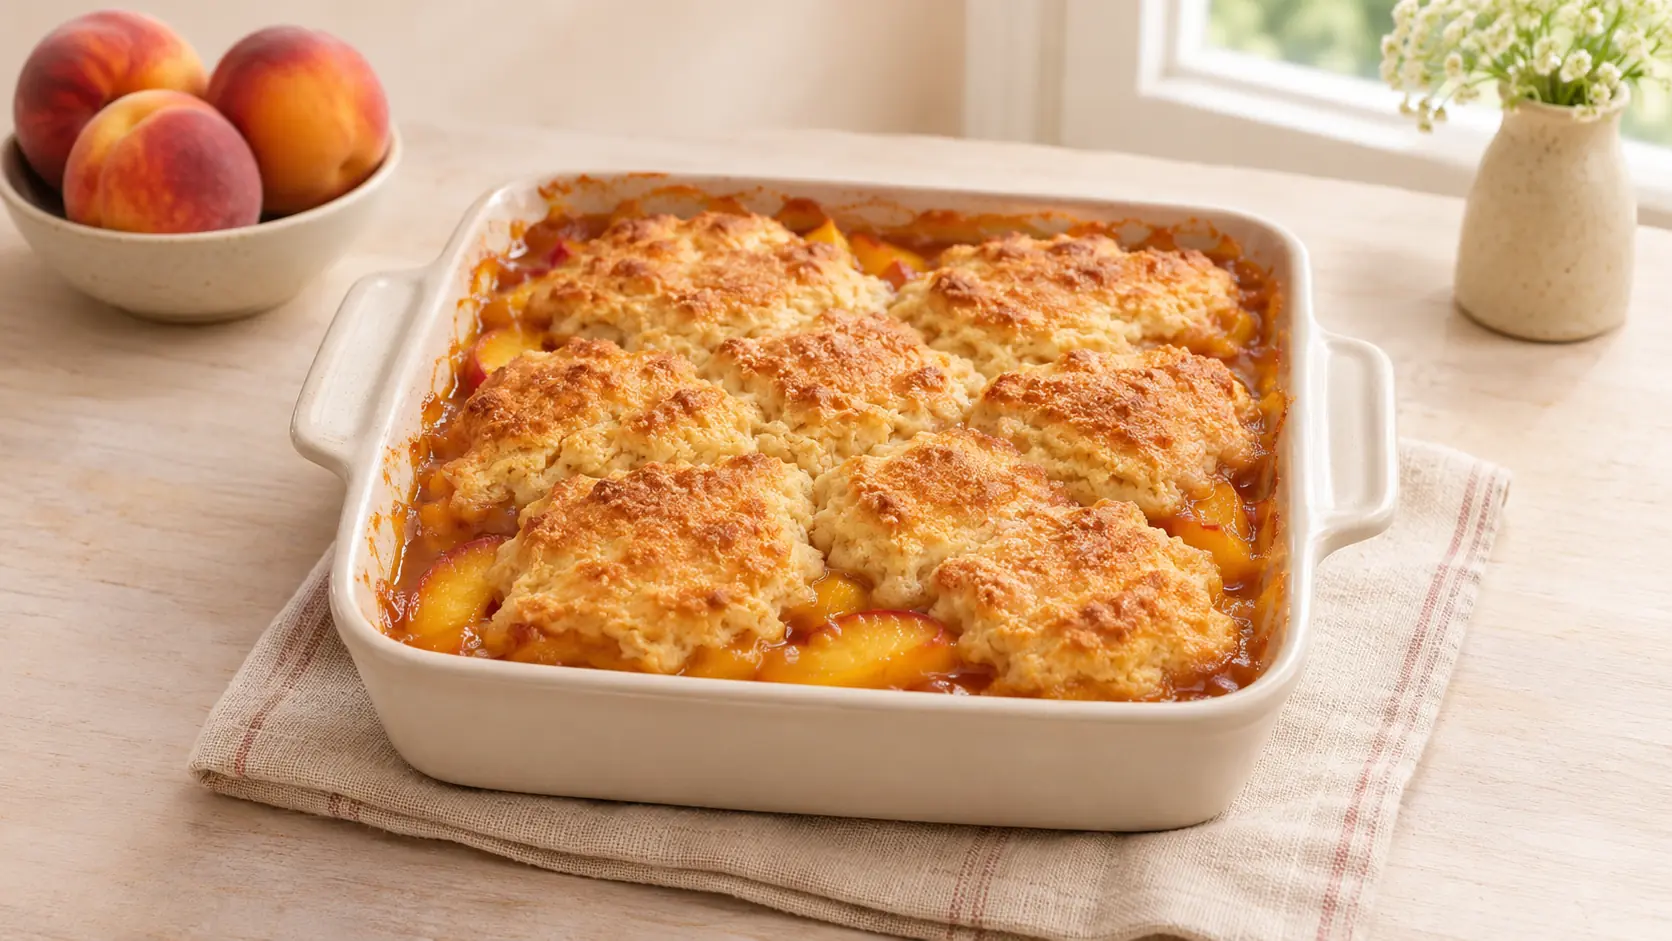
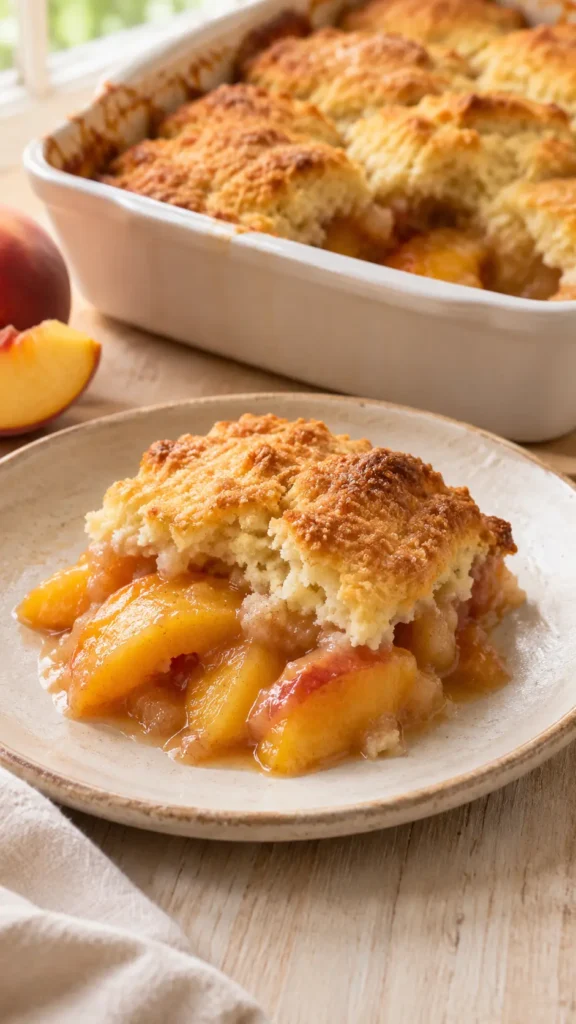
The appeal is juicy peaches beneath soft, golden biscuit-style cobbler topping. This cobbler uses spooned biscuit-style mounds rather than a poured cake batter. The gaps expose the peach filling so its juices can bubble while the topping rises. That contrast gives each portion both soft fruit and a golden, lightly crisp cap.
Ingredients You’ll Need
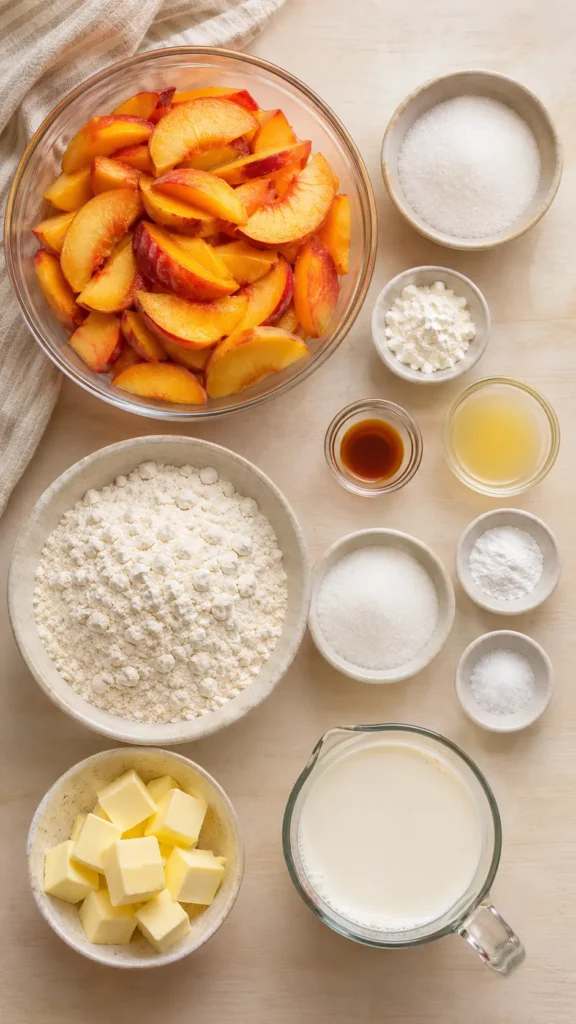
The recipe card gives the complete quantities for every component. These ingredient notes explain a few details that make the method easier to follow.
- Firm ripe peaches keep some shape during baking. Slice evenly and discard bruised or damaged portions.
- Lemon juice brings acidity, while zest adds fragrance without much liquid. Keep the measured juice quantity consistent.
- Flour supplies structure; spoon and level it, or use the gram weight so the mixture does not become unnecessarily dry.
- Butter contributes flavor and texture. Use it cold, softened, or melted exactly where specified; those states perform different jobs.
Measure fruit after the stated preparation, including peeling or removing stones where directed. Whole-fruit weight and prepared-fruit weight are different, so keep the named measurement stage consistent rather than estimating from the shopping bag.
Tools & Accessories for This Recipe
Choose equipment that suits the recipe size and your workspace. These basic tools help with measuring, mixing, and handling the finished dessert.
Affiliate links: qualifying purchases through these links may earn a commission.
- 9-inch square baking dish — the specified size and shape for this batch. Find on Amazon
- Digital Kitchen Scale — measuring the prepared fruit and topping ingredients. Find on Amazon
- Mixing Bowls — keeping fruit and topping separate until assembly. Find on Amazon
- Pastry Blender — working cold butter into the crumb or biscuit mixture. Find on Amazon
- Silicone Spatula — scraping the fruit mixture and arranging the topping. Find on Amazon
- Wire Cooling Rack — supporting the hot baking dish as the filling settles. Find on Amazon
Step-by-Step Instructions
- Heat the oven to 350°F (175°C). Butter the dish and place it on a rimmed baking sheet before preparing the filling.
- Toss peaches with fruit sugar, cornstarch, lemon juice, and vanilla. Spread into the dish, distributing the fruit and its juices evenly.
- Whisk topping flour, sugar, baking powder, and salt. Cut cold butter into the mixture until the pieces are no larger than peas.
- Pour in milk and stir just until a soft spoonable dough forms. Leave small lumps rather than beating the topping into a smooth batter.
- Drop eight mounds of dough over the peaches, leaving gaps between them. The openings help the fruit steam and show when juices are bubbling.
- Bake 40–50 minutes until topping is golden and cooked through. A tester in a central mound should show no wet dough.
- If the top colors early, tent with foil and keep baking until central fruit juices bubble and the topping underneath has set.
- Cool for 20 minutes before serving with a broad spoon. Include both peaches and topping in every portion, keeping unused cobbler covered after cooling.
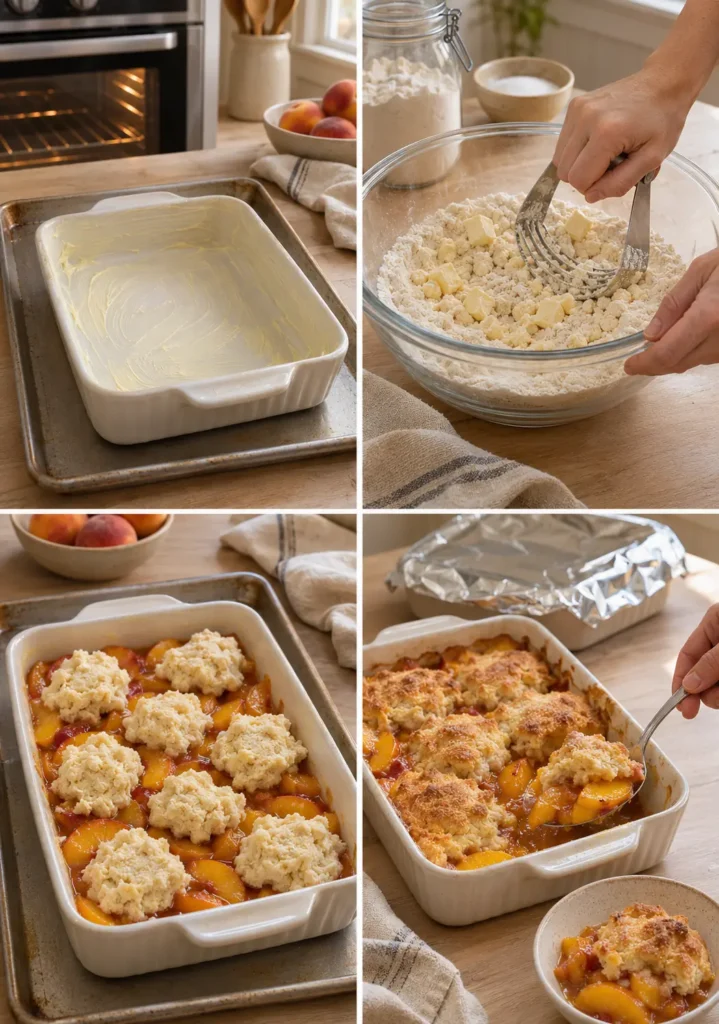
Set the dish on a rimmed sheet before it goes into the oven. That catches small overflows and provides a steadier surface to grip, especially when the filling is bubbling close to the rim.
Common Mistakes to Avoid
- Leave gaps between the topping mounds so steam can escape and the central biscuit portions bake through.
- Using very uneven fruit pieces gives inconsistent tenderness. Prepare the fruit to the size named in the method before measuring.
- Compressing the topping into a solid lid can trap steam. Scatter crumbs or place biscuit mounds with room for moisture to escape.
- Serving directly from the oven leaves the juices very loose. Allow the resting period before spooning portions into bowls.
Alternatives & Substitutions
Use thawed, well-drained frozen peaches in the same prepared quantity when fresh peaches are unavailable.
Keep the prepared fruit quantity and topping proportions consistent when trying a variation. Very watery fruit or a much smaller dish changes the filling depth and may need a different baking time.
Storage and Serving
Refrigerate covered up to 4 days. Rewarm in a 325°F oven until the fruit and topping are hot.
Ingredient check: this recipe includes wheat, milk. Review packaged ingredients for additional allergens and use clean equipment when preparing food for guests.
A warm fruit dessert is meant to be spooned rather than cut into firm bakery-style slices. Give every bowl some filling and topping, then add any cold cream or ice cream to individual servings.
FAQ
Can I prepare this ahead?
Refrigerate covered up to 4 days. Keep any finishing garnish separate when the method recommends adding it close to serving.
Which equipment size should I use?
Use the 9-inch square baking dish specified for this batch. Changing the depth or portion size changes how quickly the center heats, chills, or freezes.
Do I need to peel the peaches?
Peeling is optional. Thin skins add color and usually soften during baking. If the skins are thick or fuzzy enough to bother you, peel before measuring the prepared fruit.
What flavor variation works here?
Use thawed, well-drained frozen peaches in the same prepared quantity when fresh peaches are unavailable. Keep the remaining quantities unchanged for this small variation.
How do I know it is ready?
Check the fruit beneath the center topping as well as the browned surface. Thickened juices and tender fruit are important; a golden topping alone cannot confirm the filling is finished.
Can I make a larger batch?
Start with the quantities written for your first attempt. For more servings, separate batches or matching containers are easier to manage than making one much deeper layer and guessing the timing.
What should I check before beginning?
Read the method from start to finish, including the resting stages. Measure each component separately and prepare the pan or serving container before the mixture is ready to transfer.
Easy Peach Cobbler
Ingredients
Equipment
Method
- Heat the oven to 350°F (175°C). Butter the dish and place it on a rimmed baking sheet before preparing the filling.
- Toss peaches with fruit sugar, cornstarch, lemon juice, and vanilla. Spread into the dish, distributing the fruit and its juices evenly.
- Whisk topping flour, sugar, baking powder, and salt. Cut cold butter into the mixture until the pieces are no larger than peas.
- Pour in milk and stir just until a soft spoonable dough forms. Leave small lumps rather than beating the topping into a smooth batter.
- Drop eight mounds of dough over the peaches, leaving gaps between them. The openings help the fruit steam and show when juices are bubbling.
- Bake 40–50 minutes until topping is golden and cooked through. A tester in a central mound should show no wet dough.
- If the top colors early, tent with foil and keep baking until central fruit juices bubble and the topping underneath has set.
- Cool for 20 minutes before serving with a broad spoon. Include both peaches and topping in every portion, keeping unused cobbler covered after cooling.
Notes
- Yield: 8 servings
- Oven/heat: 350°F (175°C)
- Pan/container: 9-inch square baking dish
- Includes staged baking or stovetop work where applicable; use the texture cues in the method.
- Times are approximate: cook/bake 45 minutes (approximate); cooling/chilling/resting 20 minutes (approximate; see method); total 1 hour 25 minutes (approximate).
- Leave gaps between the topping mounds so steam can escape and the central biscuit portions bake through.
- Use thawed, well-drained frozen peaches in the same prepared quantity when fresh peaches are unavailable.
- Refrigerate covered up to 4 days. Rewarm in a 325°F oven until the fruit and topping are hot.
- Nutrition values are not provided; no calculated nutrition data is included.
Final Thoughts
Easy Peach Cobbler is a lovely excuse to slow down and make something sweet. Give the recipe its measuring, mixing, and resting time, then enjoy juicy peaches beneath soft, golden biscuit-style cobbler topping. Keep the recipe card handy for your next batch, and choose a simple finish that lets the dessert itself shine.