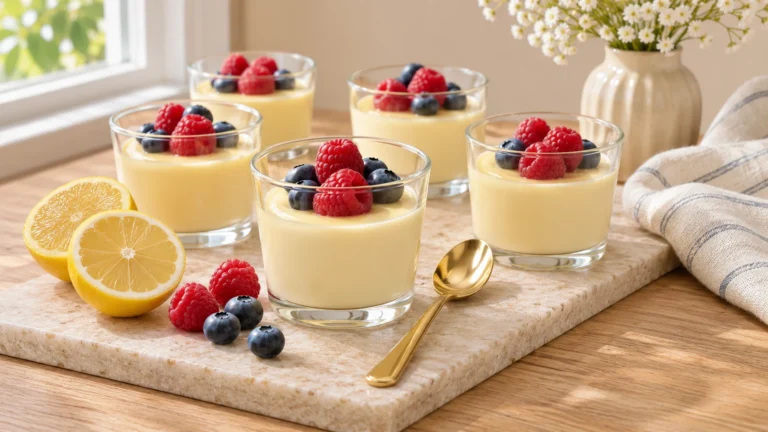
Hi, I’m Sophie Bennett. I’m happy you’re here to make homemade vanilla pudding with me. I love a dessert with a clear method and a little room for your own finishing touch. Today we’re aiming for a smooth, softly set vanilla pudding with a rich buttery finish, with each stage laid out so you can work at a comfortable pace.
This recipe makes 6 servings. Read through the directions first, set out the medium heavy saucepan and six small bowls, and plan for the resting time before you begin. That small bit of preparation makes it easier to enjoy the process and serve the dessert at its best.
Why This Recipe Is Awesome
The appeal is a smooth, softly set vanilla pudding with a rich buttery finish. Milk, yolks, and cornstarch create a smooth pudding with a clear vanilla flavor. Butter stirred in off the heat adds a glossy finish. Dividing the hot mixture into small bowls speeds cooling, and direct surface covering prevents a skin if that is your preferred texture.
Ingredients You’ll Need
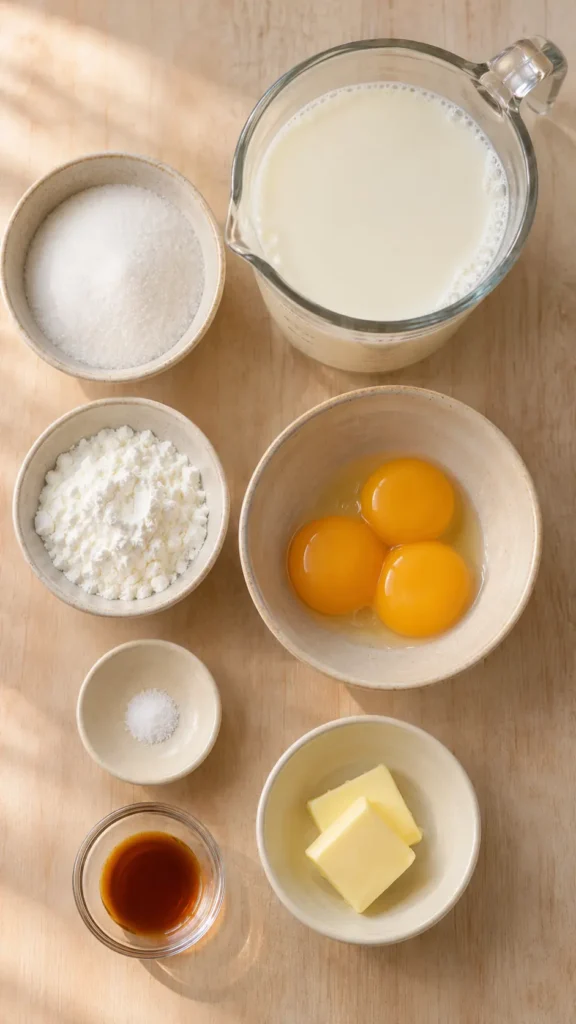
The recipe card gives the complete quantities for every component. These ingredient notes explain a few details that make the method easier to follow.
- Butter contributes flavor and texture. Use it cold, softened, or melted exactly where specified; those states perform different jobs.
- Sugar controls sweetness and also affects tenderness. Keep the measured amount rather than making a large reduction on the first attempt.
- Eggs help bind and set the mixture. Use large eggs and keep any extra yolks separate from whole-egg quantities.
- Vanilla rounds out the flavor. Measure rather than pouring freely, especially when the batch is small.
Keep repeated ingredient names assigned to their own components. Sugar or cream used in a base is separate from any quantity listed for a topping, sauce, or whipped layer; measure those portions independently.
Tools & Accessories for This Recipe
Choose equipment that suits the recipe size and your workspace. These basic tools help with measuring, mixing, and handling the finished dessert.
Affiliate links: qualifying purchases through these links may earn a commission.
- Medium heavy saucepan and six small bowls — the specified size and shape for this batch. Find on Amazon
- Digital Kitchen Scale — measuring sugar, chocolate, and other ingredients precisely. Find on Amazon
- Mixing Bowls — organizing the separate components before combining. Find on Amazon
- Balloon Whisk — blending the mixture smoothly at the stages specified. Find on Amazon
- Silicone Spatula — scraping the bowl and folding delicate components. Find on Amazon
- Fine Mesh Sieve — straining a cooked mixture when the method calls for it. Find on Amazon
Step-by-Step Instructions
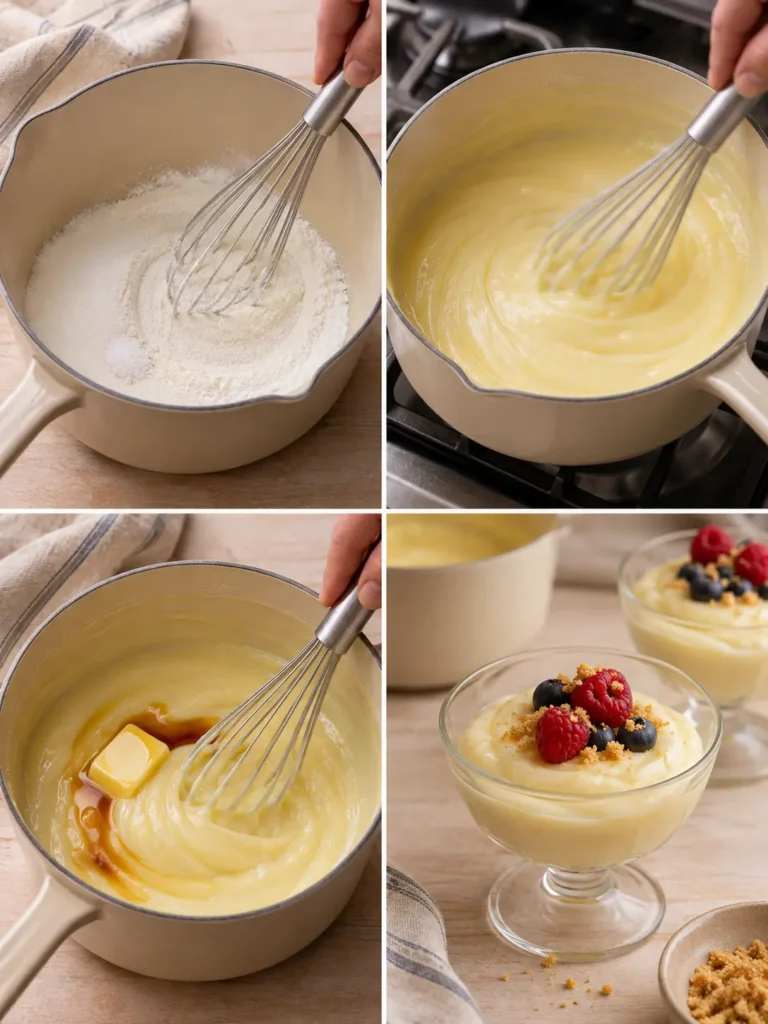
- Whisk sugar, cornstarch, and salt in a heavy saucepan before adding liquid. This separates the starch so it is less likely to clump.
- Gradually whisk in milk, followed by egg yolks. Continue until the mixture is smooth, checking the corners for dry powder.
- Place over medium heat and cook, whisking continuously. Sweep the base and sides rather than stirring only in the middle.
- When pudding thickens and begins to bubble gently, continue cooking and whisking for 1 minute. Lower heat if needed to prevent vigorous splattering.
- Remove from heat. Stir in butter and vanilla until fully blended; strain through a fine sieve if you notice cooked egg flecks.
- Divide between six small bowls. Cover the pudding surface directly with food-safe wrapping if you prefer no skin on top.
- Let cool briefly, about 20–30 minutes, then refrigerate at least 2 hours until cold and thick. Keep bowls covered while chilling.
- Stir lightly before serving if desired. Add fruit or crumbs at the table rather than mixing wet toppings into pudding intended for later storage.
Choose a level refrigerator shelf and a tray that supports the individual bowls or glasses. Keeping the portions together makes them easier to move without splashing or disturbing the surface before the set develops.
Common Mistakes to Avoid
- Whisk the starch into sugar before adding milk to reduce dry clumps, and keep whisking once the saucepan is on the heat.
- Skipping the preparation stage can interrupt a time-sensitive step. Measure first and set out the serving dishes before heating or whipping.
- Changing the ingredient temperature can affect texture. Follow the directions for cold cream, softened cheese, and warm mixtures rather than treating them alike.
- Rushing the final chill leaves a weaker set. Plan refrigerator space and waiting time before beginning the recipe.
Alternatives & Substitutions
Use vanilla bean paste in the same quantity as extract for visible vanilla flecks.
Keep the base proportions intact when making this variation. Ingredients that provide setting power, moisture, or structure need a separately developed adjustment rather than a casual substitution.
Storage and Serving
Refrigerate covered up to 3 days. Freezing can change the cornstarch texture, so prepare a fresh batch rather than freezing leftovers.
Ingredient check: this recipe includes milk, eggs. Review packaged ingredients for additional allergens and use clean equipment when preparing food for guests.
FAQ
Can I prepare this ahead?
Refrigerate covered up to 3 days. Keep any finishing garnish separate when the method recommends adding it close to serving.
Which equipment size should I use?
Use the medium heavy saucepan and six small bowls specified for this batch. Changing the depth or portion size changes how quickly the center heats, chills, or freezes.
Why did a skin form on top?
Moisture evaporates from the exposed surface as pudding cools. Press food-safe wrapping directly against the pudding, or leave it uncovered initially if you enjoy the traditional thin skin.
What flavor variation works here?
Use vanilla bean paste in the same quantity as extract for visible vanilla flecks. Keep the remaining quantities unchanged for this small variation.
How do I know it is ready?
Give the dessert its full cooling and chilling period, except when the method offers a warm serving option. The texture should match the stated soft set rather than remain thin and pourable.
Can I make a larger batch?
Start with the quantities written for your first attempt. For more servings, separate batches or matching containers are easier to manage than making one much deeper layer and guessing the timing.
What should I check before beginning?
Read the method from start to finish, including the resting stages. Measure each component separately and prepare the pan or serving container before the mixture is ready to transfer.
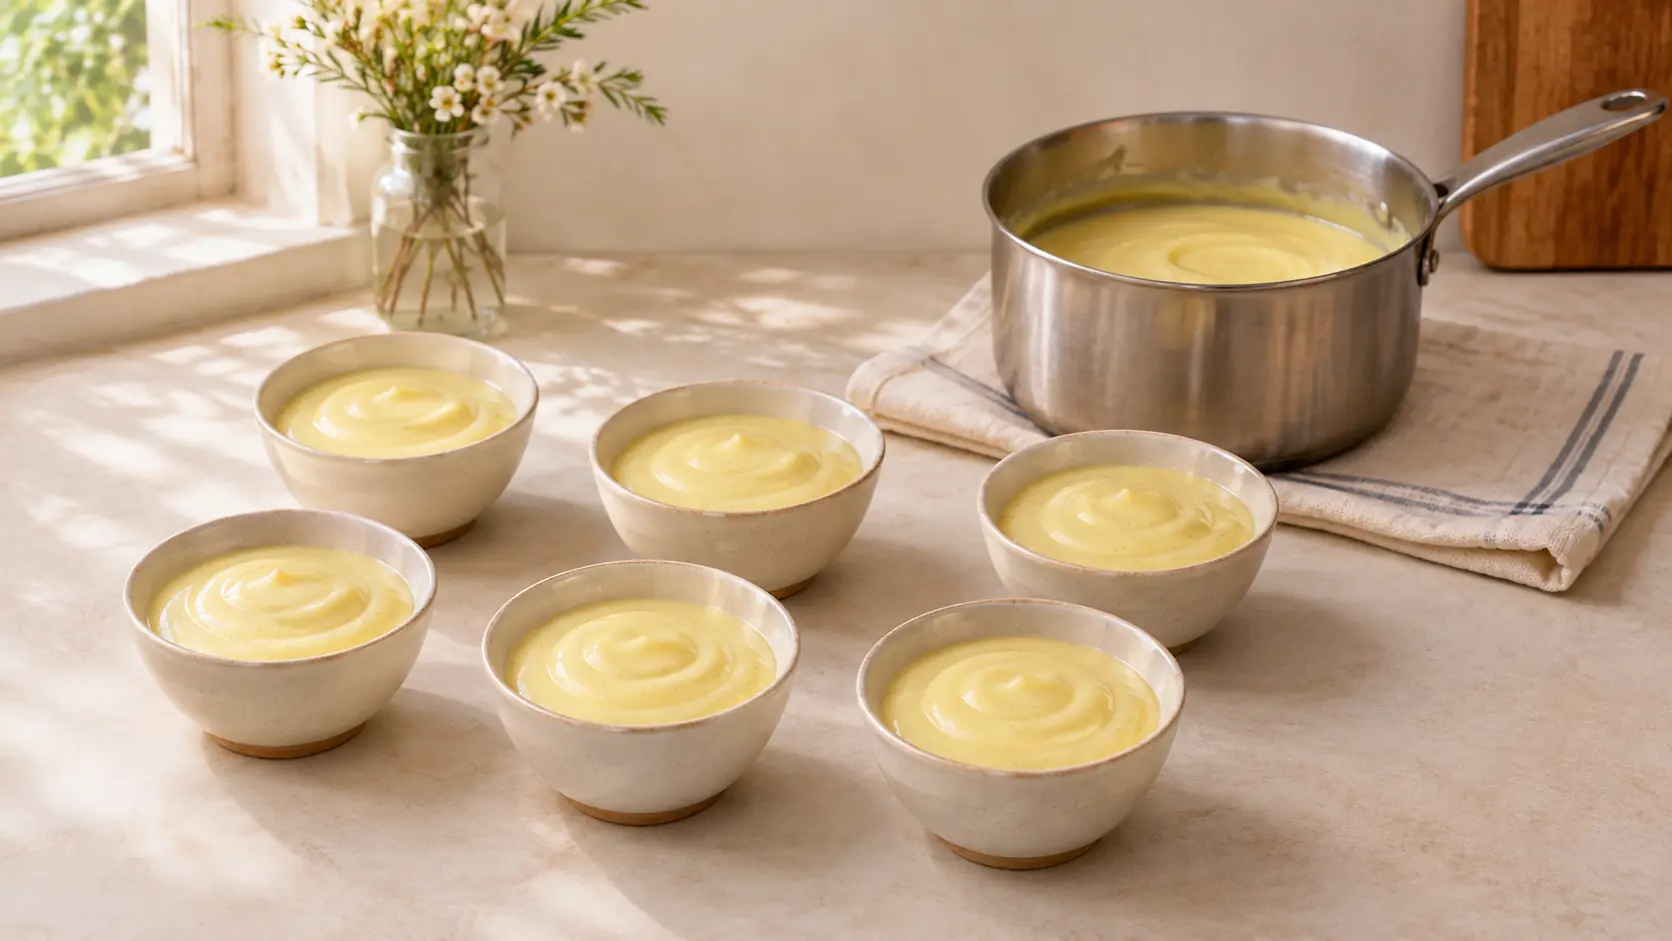
Homemade Vanilla Pudding
Ingredients
Equipment
Method
- Whisk sugar, cornstarch, and salt in a heavy saucepan before adding liquid. This separates the starch so it is less likely to clump.
- Gradually whisk in milk, followed by egg yolks. Continue until the mixture is smooth, checking the corners for dry powder.
- Place over medium heat and cook, whisking continuously. Sweep the base and sides rather than stirring only in the middle.
- When pudding thickens and begins to bubble gently, continue cooking and whisking for 1 minute. Lower heat if needed to prevent vigorous splattering.
- Remove from heat. Stir in butter and vanilla until fully blended; strain through a fine sieve if you notice cooked egg flecks.
- Divide between six small bowls. Cover the pudding surface directly with food-safe wrapping if you prefer no skin on top.
- Let cool briefly, about 20–30 minutes, then refrigerate at least 2 hours until cold and thick. Keep bowls covered while chilling.
- Stir lightly before serving if desired. Add fruit or crumbs at the table rather than mixing wet toppings into pudding intended for later storage.
Notes
- Yield: 6 servings
- Oven/heat: Stovetop only
- Pan/container: Medium heavy saucepan and six small bowls
- Includes staged baking or stovetop work where applicable; use the texture cues in the method.
- Times are approximate: cook/bake 10 minutes (approximate); cooling/chilling/resting 2 hours 30 minutes (approximate; see method); total 2 hours 55 minutes (approximate).
- Whisk the starch into sugar before adding milk to reduce dry clumps, and keep whisking once the saucepan is on the heat.
- Use vanilla bean paste in the same quantity as extract for visible vanilla flecks.
- Refrigerate covered up to 3 days. Freezing can change the cornstarch texture, so prepare a fresh batch rather than freezing leftovers.
- Nutrition values are not provided; no calculated nutrition data is included.
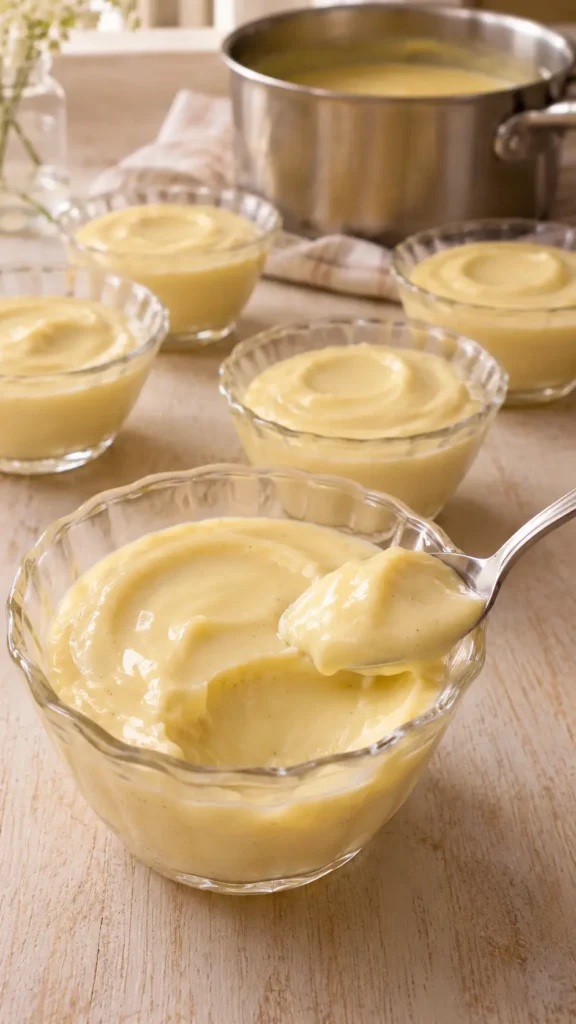
Final Thoughts
Homemade Vanilla Pudding is a lovely excuse to slow down and make something sweet. Give the recipe its measuring, mixing, and resting time, then enjoy a smooth, softly set vanilla pudding with a rich buttery finish. Keep the recipe card handy for your next batch, and choose a simple finish that lets the dessert itself shine.